Media library
The media library
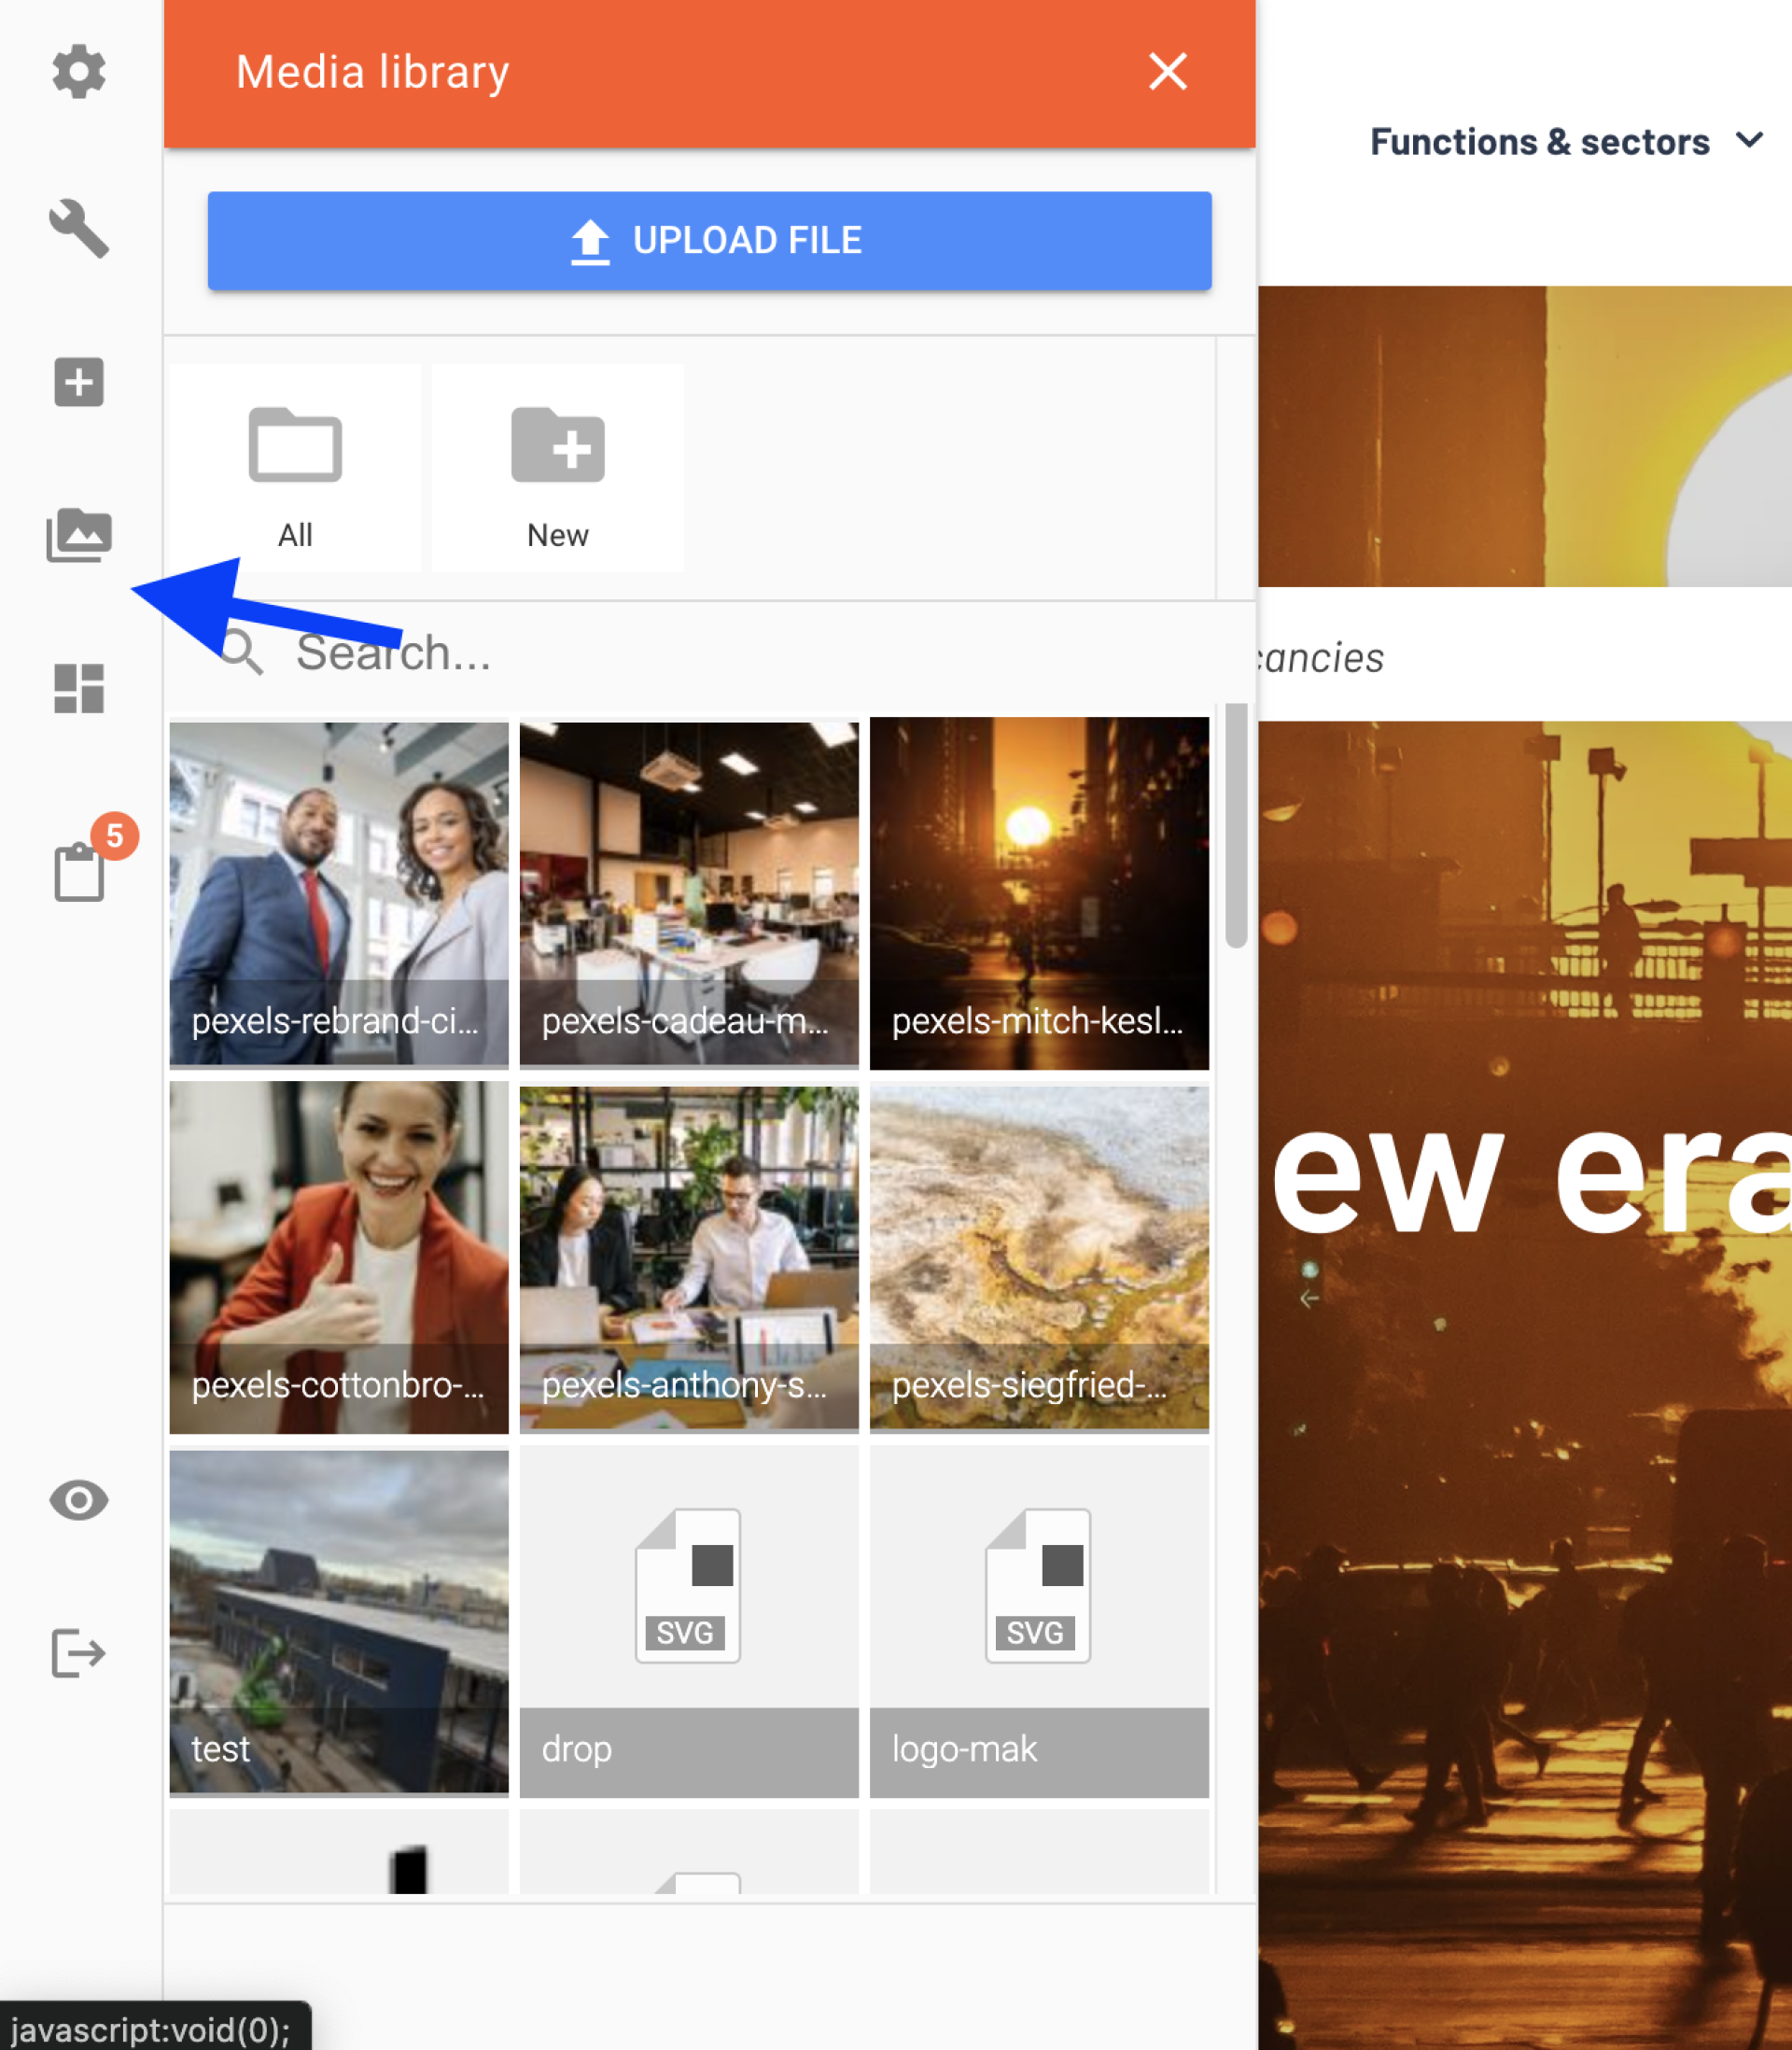
The media library is the place where you manage all the files that (can) be used on the website. You can access the media library via the fourth icon in the editor menu, but you also enter it when you add a section or element on a page that requires a media file (e.g., an image).

Adding a file to the media library
You can add one or more files to the media library at a time. You do this as follows:
- Click the media library icon in the editor menu. The media library will now open and you will see all the files that have been previously uploaded to the media library.
- Click 'Upload file', the blue button at the top of the editor.
- A window will now open from your computer. In it, locate the file(s) (image, pdf, document) you want to add to the media library and click 'Open'.
- You will see that the file/files are added to the top of the media library. The new files are outlined in blue. You can now close the media library by clicking the cross at the top right of the editor.
Modifying a file in the media library
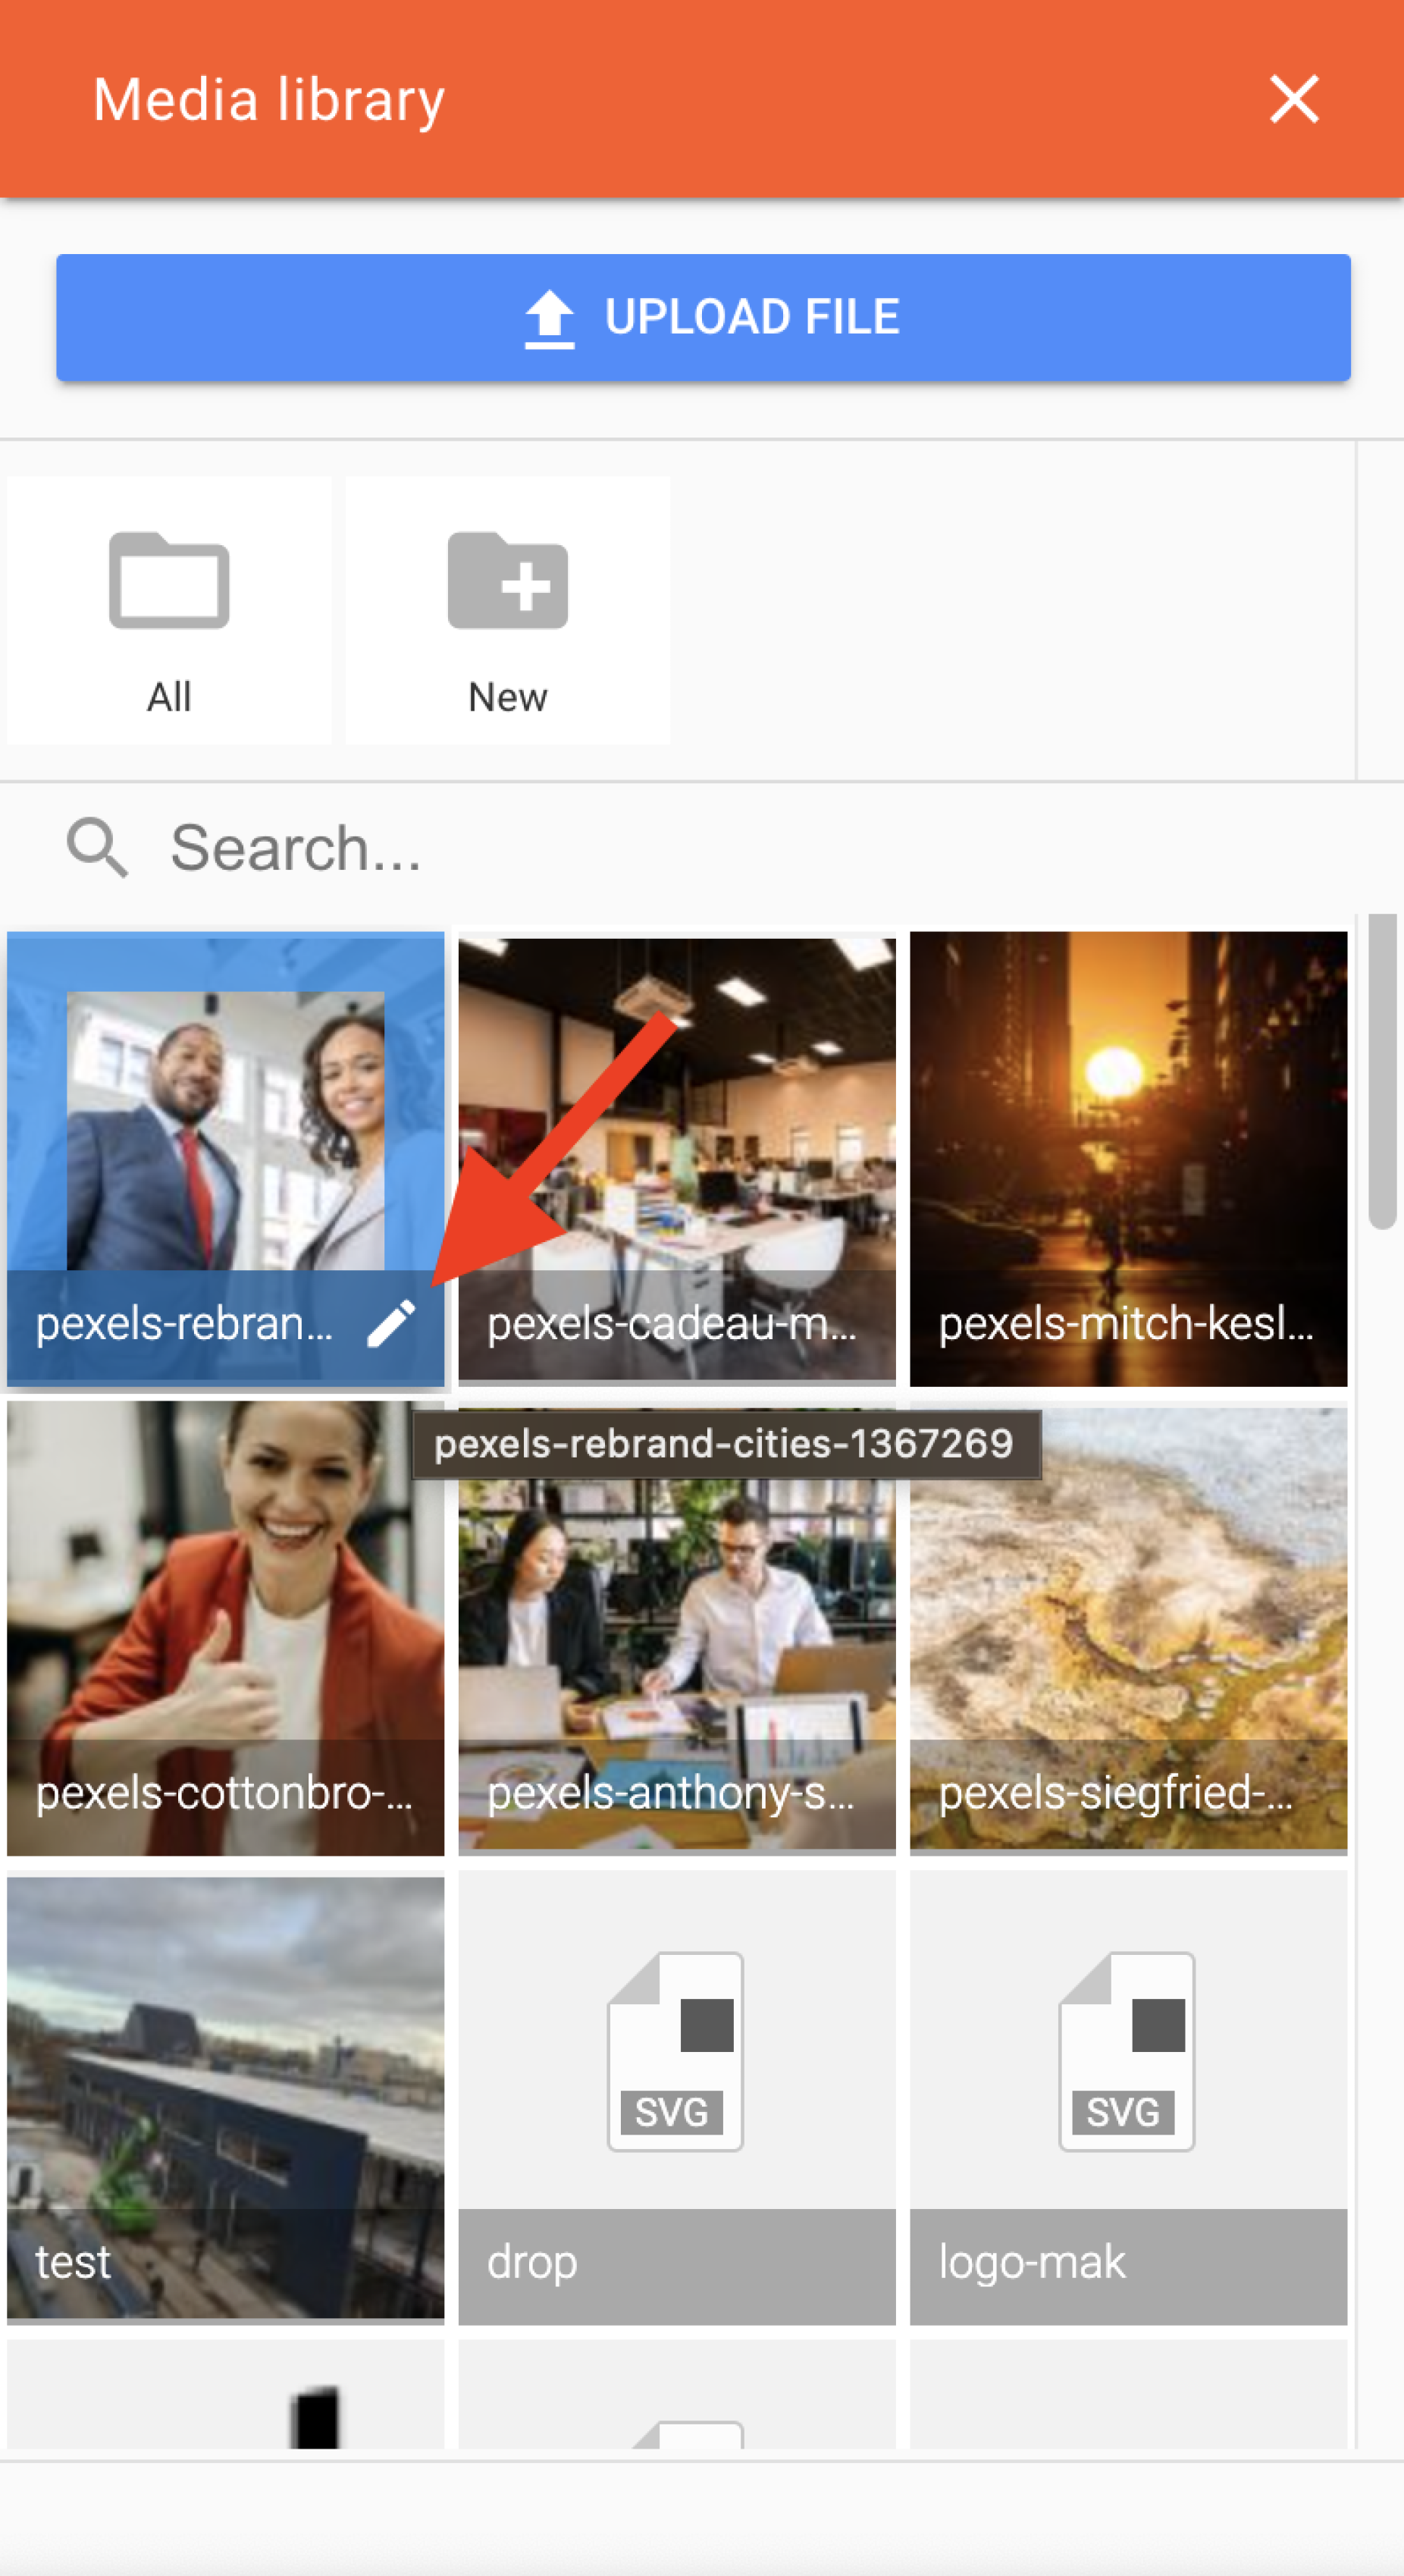
You can change a file that is in the media library. To do this, go to the media library and locate the file in question. Click the little pen that appears in the lower right corner when you hover your mouse over the file.
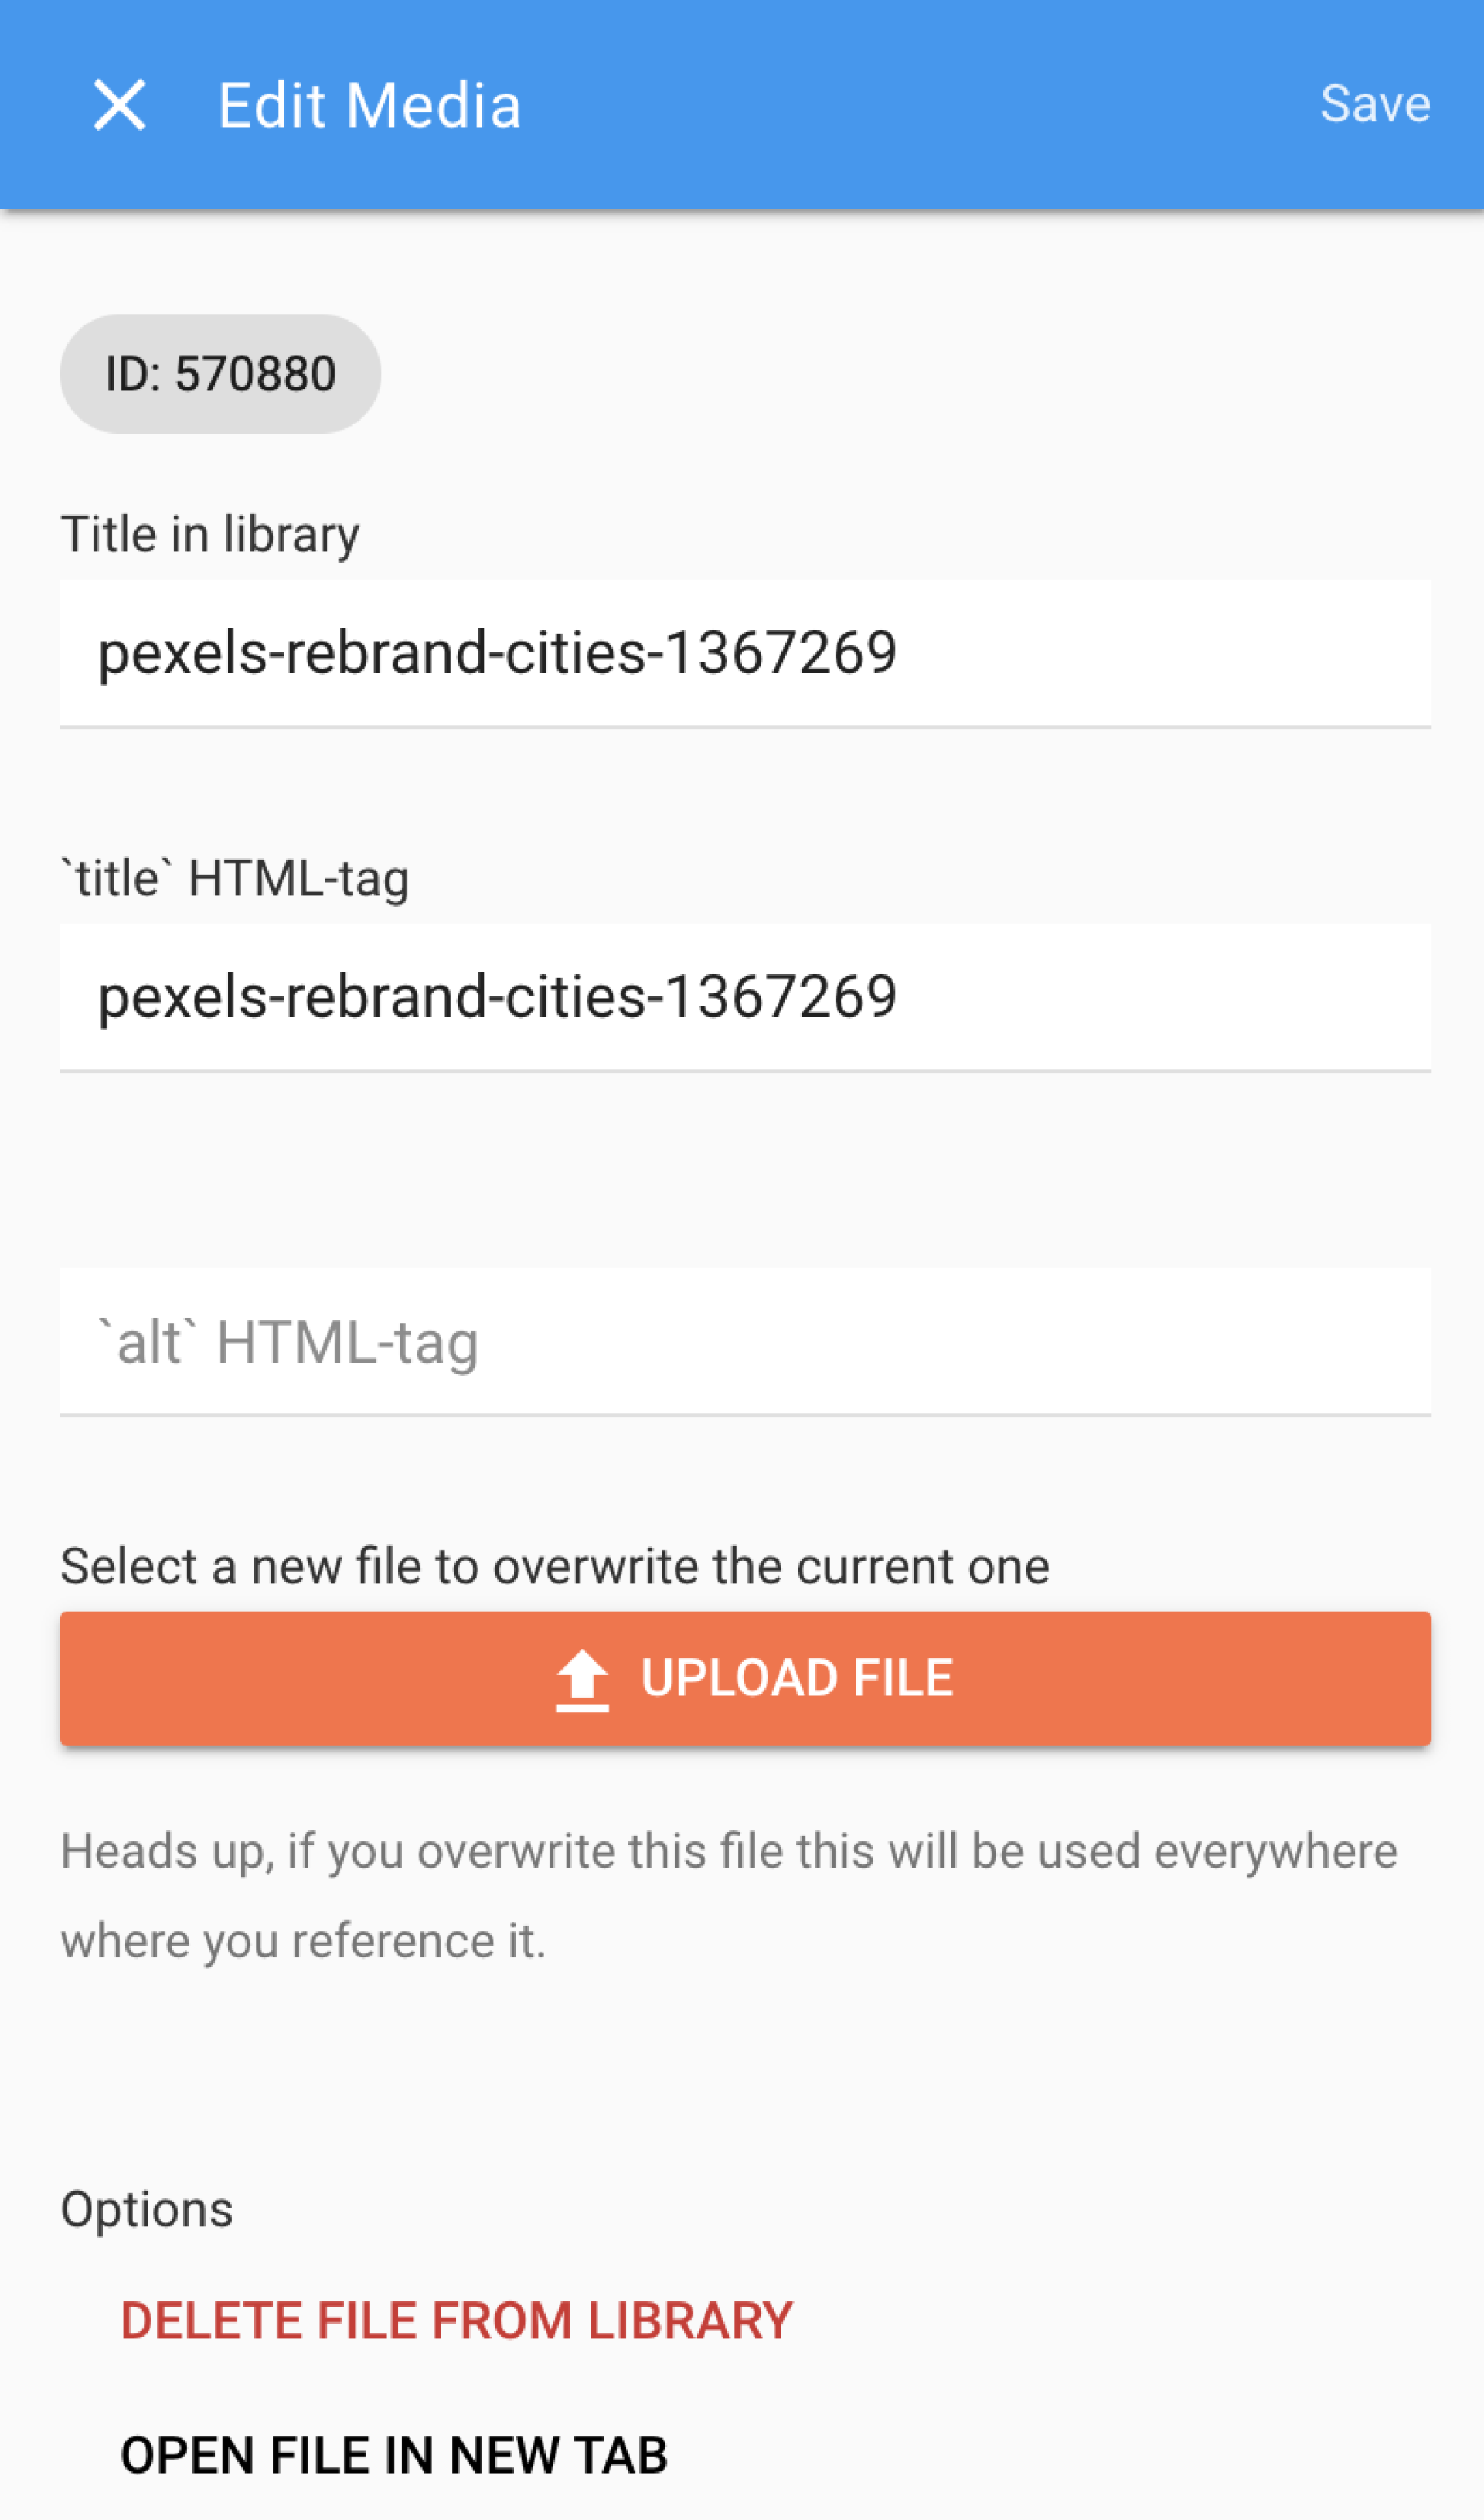
A screen now opens, where you can add or modify the following details of the file:
- Title in media library: this is the title shown with the file in the media library. When you search the media library, these titles will be searched for.
- 'title' HTML tag: this is the title that will be displayed at the top of the internet browser if you were to open the file separately in your browser.
- 'alt' HTML tag: this is a description of the image, which is different from the title. In case an image cannot be displayed properly, e.g. due to slow Internet, this text will be displayed.
- New file: here you can upload a new version of the file by clicking the orange button 'Upload file'. The new file will overwrite the previous version from the media library. Note: Make sure the new file does not have exactly the same name as the old file. For example, put 'new' in the file name of the new version before you upload it here. The new version will replace the old version of the file in all places in the website where the file is used. So if you have placed an image somewhere on a page and you replace that image in the media library for another version, that new version will also show up on the page.
Remember to click 'Save' after you have made the desired changes or additions.


Deleting a file from the media library
You can also delete a file completely from the media library.
Note that if a file is in use somewhere on the site, it will disappear there as well. So only delete files that are not in use.
You delete a file as follows:
- Go to the media library and find the file in question.
- Click the pen that appears in the lower right corner when you hover your mouse over the file.
- You will now get to all the information about the file. Scroll to the bottom of the editor.
- Under 'Options', click 'Remove file from library'. You now get a pop-up message. Are you sure you want to delete the file? Then click on 'OK'. The file will be removed from the media library.
Downloading an image from the media library
It is possible to download (save) an image from the media library. You do this as follows:
- Go to the media library and find the image in question.
- Click on the pen that appears in the lower right corner when you hover your mouse over the image.
- You will now get to all the information about the file. Scroll down in the editor.
- Under 'Options', click 'Open file in new tab'. A new tab will now open in your internet browser, displaying the image.
- Hover your mouse over the image and right-click.
- Select 'Save image as...'. A pop-up window will now open where you can enter/change the title and choose where to save the file on your computer. Then click on 'Save'. The image is now saved on your computer. You can close the tab.
Creating folders in the media library
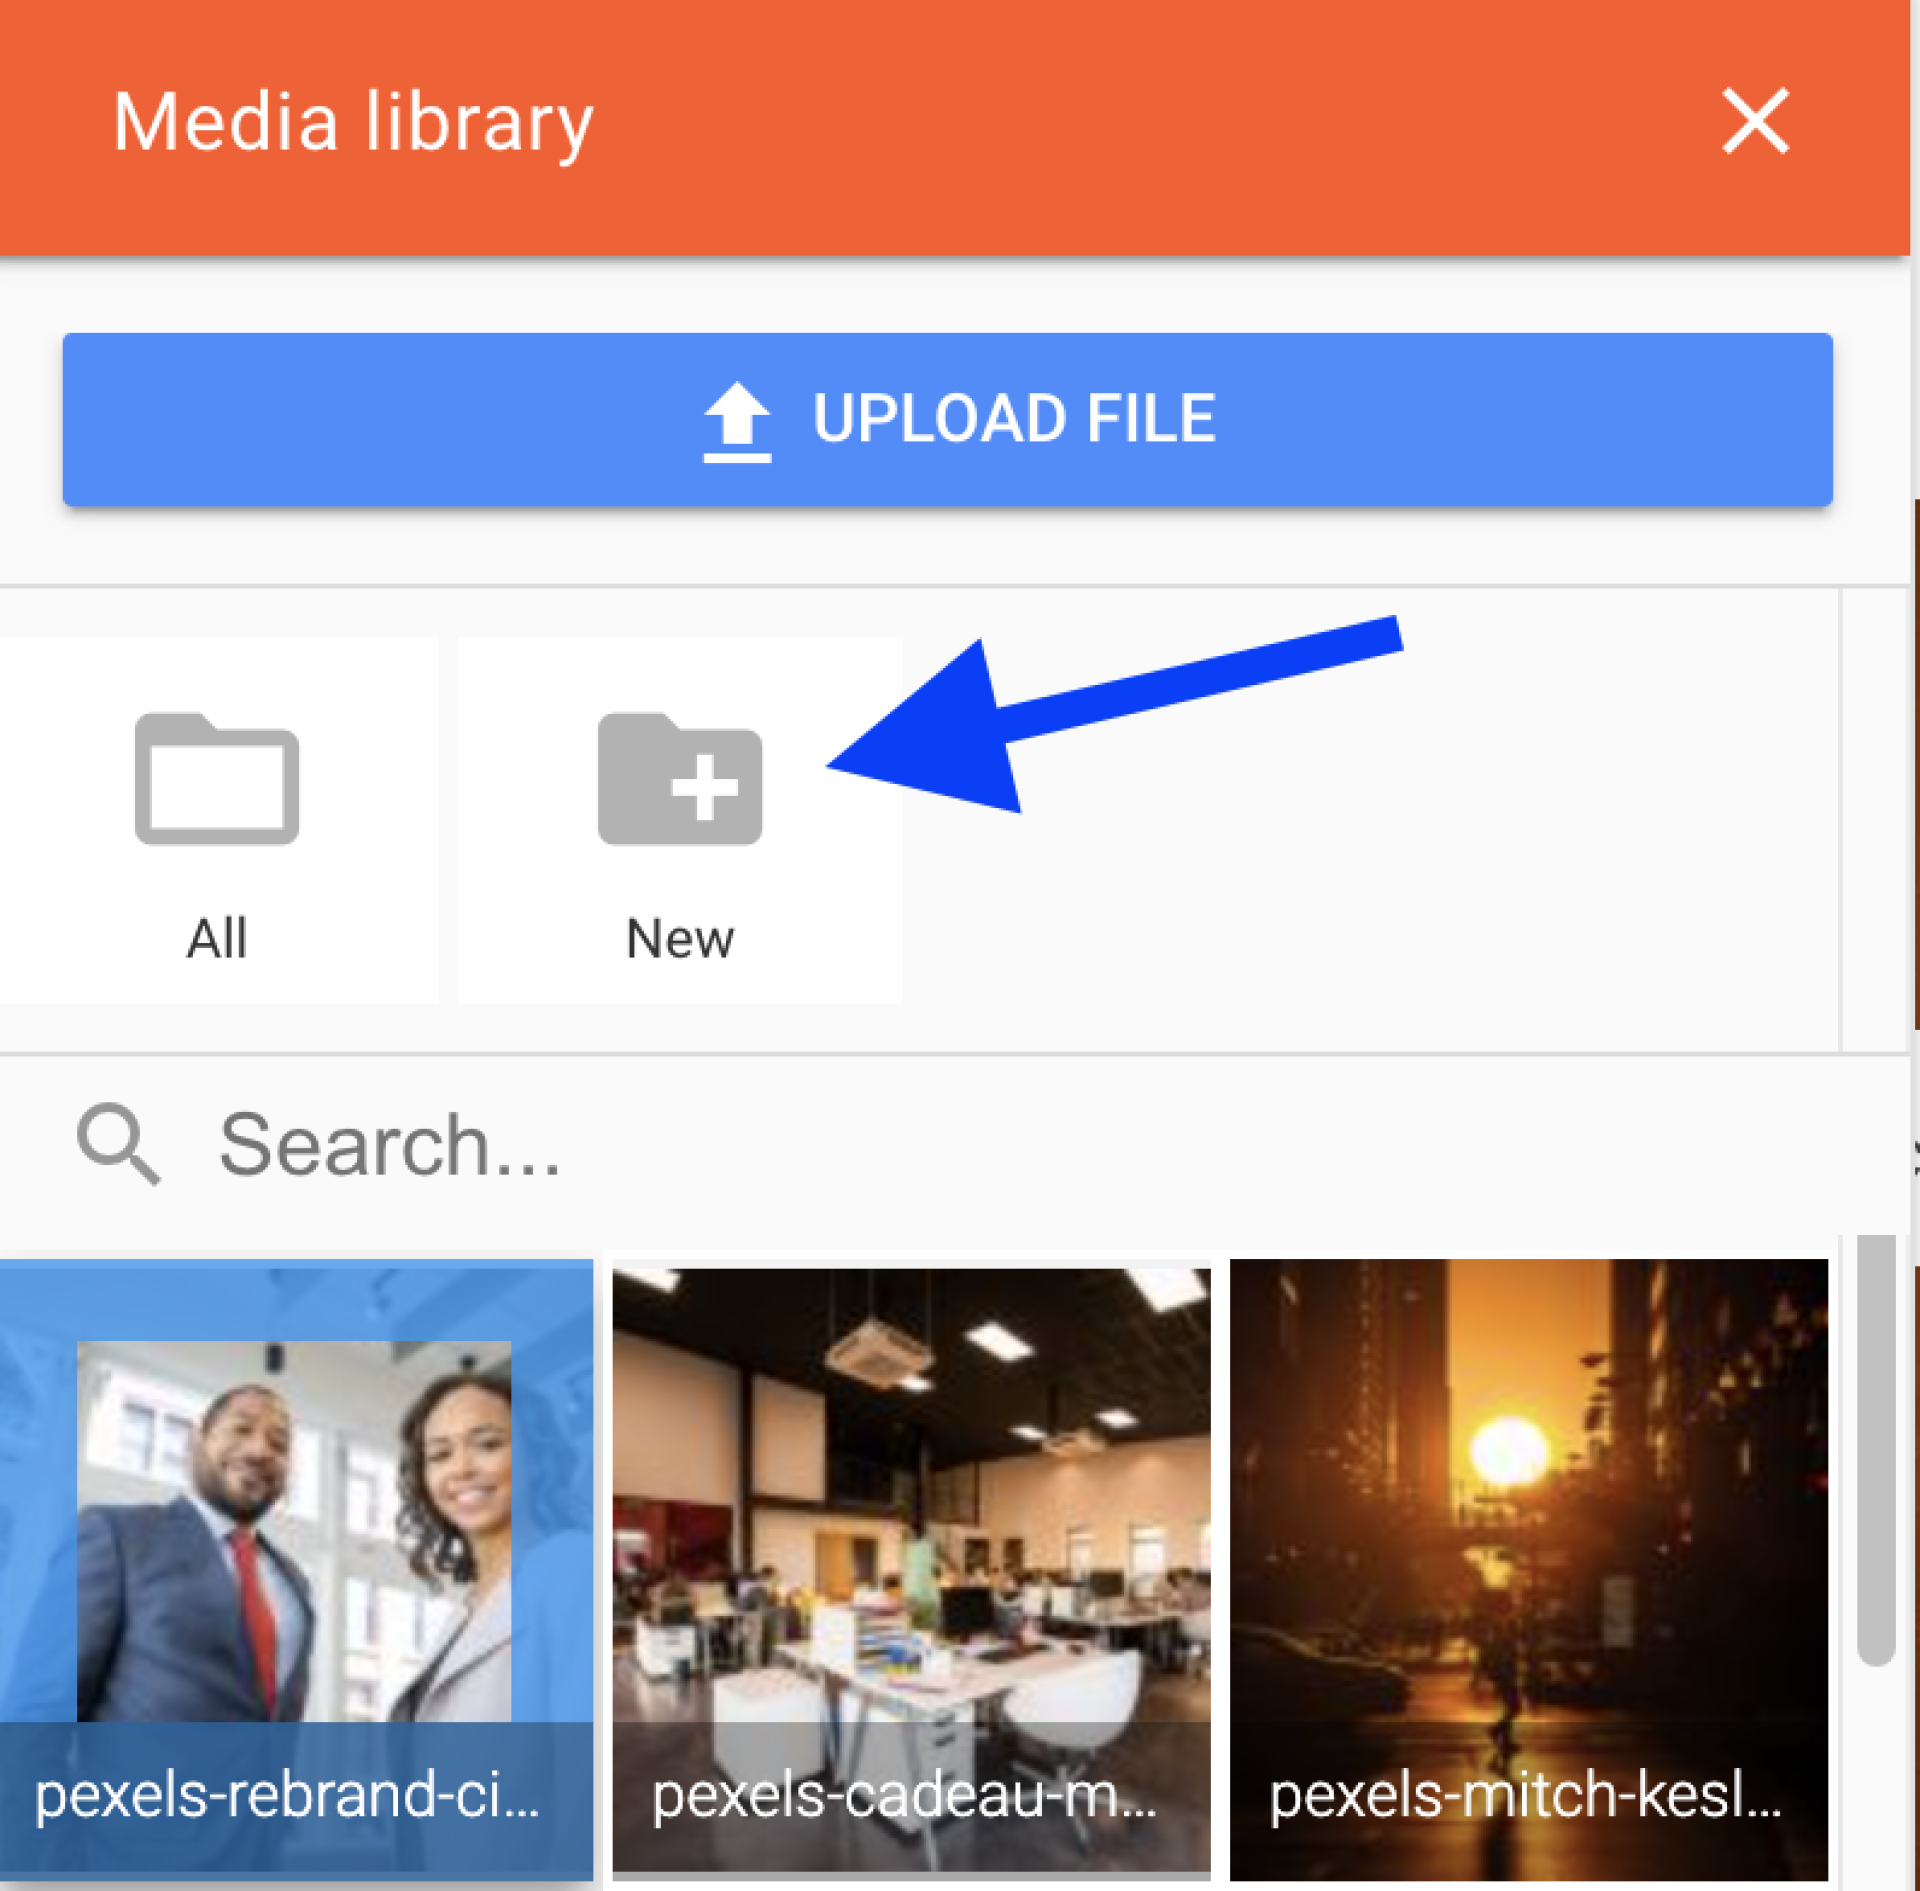
You can organize the files in the media library using folders. You easily create a new folder by clicking the folder icon with 'New' at the top of the media library. Then there are two ways to fill a folder with files:
You upload files directly into the folder: go to the folder and click 'Upload file' there. Select the file(s) you want to add to the folder. The files will be saved directly into the folder.
You drag and drop files from the media library (the overall view) into the appropriate folder.

