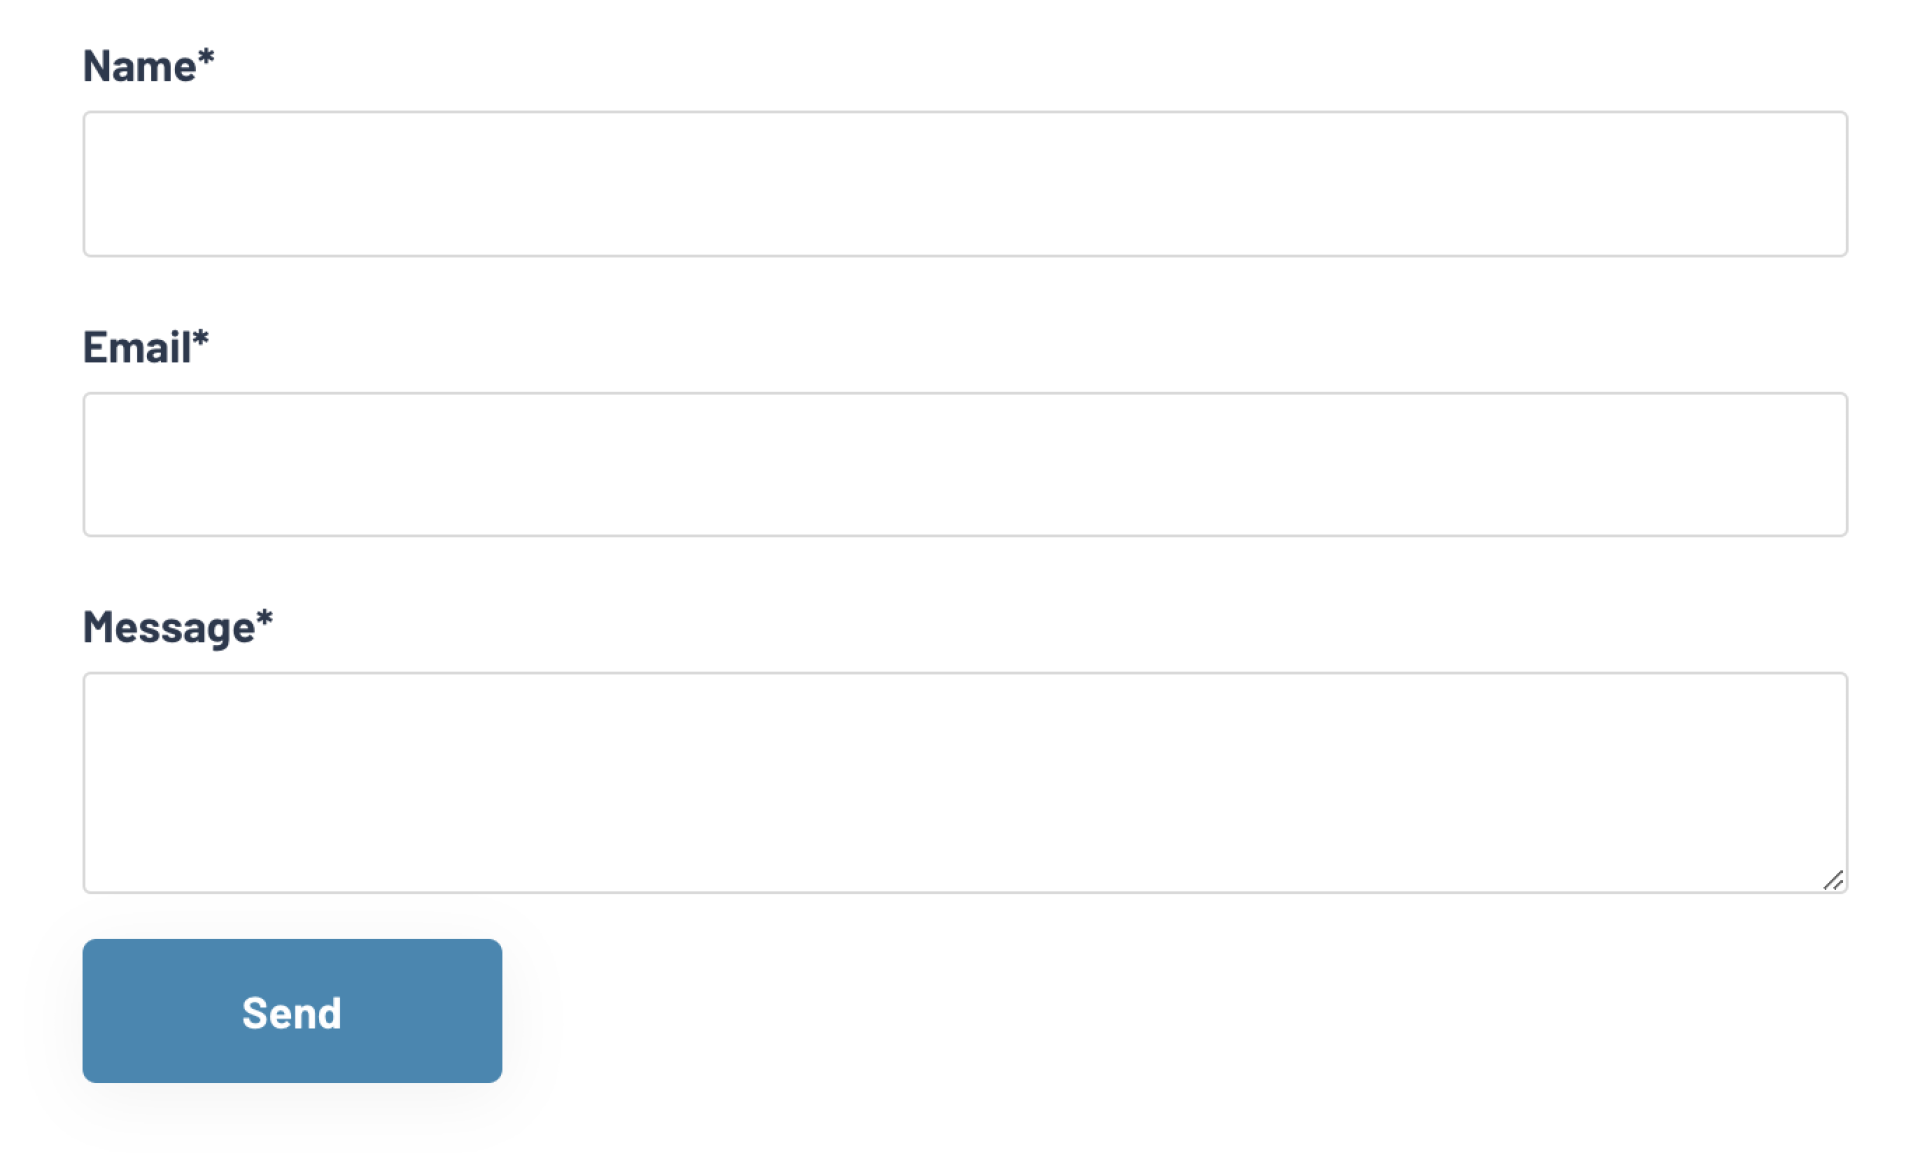
Contactform
This element allows you to place an contact form. You add multiple items here that you can fold out one by one. For example, you can use this element for frequently asked questions.
Add this element by going through the following steps:
1. Log into the CMS and go to the website editor.
2. Go to the page where you want to add the section.
3. Move your mouse over the screen where you want to add the element so that a red block becomes visible in the middle of the desired column. Move your mouse over this so that the text + Element appears. Clicking on this will bring up the editor window, here you can choose which element you want to add, choose Contact form in the overview. You can search at the top if you do not see the element in the overview.
4. In the editor window the following tabs will appear:
Content - Form fields:
- Field Name:Enter the title of the form field here.
- Field type:Make a selection here as to what type of field this should be.
- Text field:Normal text field.
- Text area:Large text field.
- Name:
- Mail:Text field where an email address should be entered.
- Phone number:Text field where a phone number should be entered.
- Checkbox:Field with multiple options of which multiple options can be selected.
- Radio:Field with multiple options of which only one option can be selected.
- Dropdown:Field with multiple options of which only one option can be selected, in a dropdown view.
- File:Field in which files can be added.
- CV of LinkedIn:
- Date:
- Condition:Field with one mandatory condition, often used for accepting AVG rules.
- This field is required:Select this option if this field must be mandatory to complete.
- Placeholder:Use this field to control the placeholder property. Use it to provide hints about expected input, for example: dd-mm-yyyy
- Additional description: Optional. If desired, enter an additional description here that will be displayed below the input field. Does not work with fields: Button, Address, Condition
- Options:Add options here if Checkbox, Radio or Dropdown is selected under Type of field. You do this by typing an option and then pressing enter to add the options.
- Column width:Place items in the columns of the grid. The grid is 12 columns wide. On small screens, columns are always 12 wide.
- Custom column width: Number betweem 1 and 12. This will overwrite the value Column width above.
- Wysiwyg or Condition text:Complete this field if you want to use formatting or links in your condition or text. Only works with field type "Condition" or "Wysiwyg".
- Send confirmation to this email address:Select this option if the current field requires a mail address to be entered where the confirmation message can be sent.
- Multiple Files:Select this option if in Type field File is selected and multiple files may be sent along with it.
Content - Other:
- Success page:After completing the form, the user is sent to this page, such as a thank you page.
- Text for send button:This text will appear at the button, for example 'Send' of 'Apply'.
E-mail:
- Target email address:Enter the e-mail address where the confirmation can be sent to. This confirmation is sent the moment someone fills out and sends the form.
- Mail subject:Enter the e-mail address to which the confirmation can be sent. This confirmation is sent the moment someone fills out and sends the form.
- Admin confirmation:This message will be send to the target email address.
Confirmation message
- Confirmation message:Enter here the receipt confirmation that user will receive. (This happens only if an email field is added to the form and the Send confirmation to this email address option is selected in this field.
- Confirmation subject:Enter the subject of the receipt here.
- Send completed information:Select this option if the completed data is to be added to the user receipt.
5. Click Save.

